

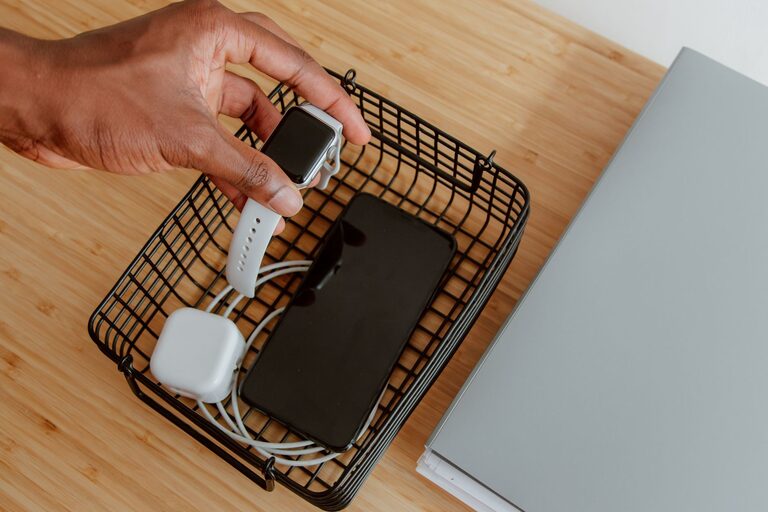
Setting up a dedicated charging station for your devices can simplify your daily routine and keep your space organized. Whether you have smartphones, tablets, smartwatches, or wireless earbuds, having a single spot to charge them all reduces clutter and prevents the frustration of hunting for chargers. This guide will walk you through the steps to create an efficient and easy-to-use charging station at home.
Why Set Up a Charging Station?
With multiple devices in most households, cables and chargers often get tangled or misplaced. A charging station:
– Keeps all your devices in one place.
– Helps maintain cable organization.
– Protects devices from accidental damage.
– Reduces the number of outlets and chargers scattered around.
– Makes it easier to charge multiple devices simultaneously.
Now that you know the benefits, let’s jump into how to design and set up your own station.
Step 1: Choose the Right Location
Selecting a convenient and accessible location is key to a successful charging station. Consider these factors:
– Proximity to Power Outlets: Pick a spot near existing outlets to avoid using long extension cords.
– Visibility and Accessibility: Common areas like living rooms, home offices, or bedrooms work well. Everyone should find it easy to plug in and unplug devices.
– Ventilation: Choose a place with good airflow so devices don’t overheat while charging.
– Surface Space: Make sure there’s enough room for your devices and chargers.
Common options include a side table, desk, or a shelf near an outlet.
Step 2: Gather Your Supplies
Before setting up, collect all necessary items. Here’s a basic list to get started:
– Multi-port USB charger or charging hub
– Charging cables for all your devices
– Power strip with surge protection (if needed)
– Cable organizers (clips, sleeves, or ties)
– Charging dock or stand (optional)
– Tray or box to hold smaller devices or accessories
Having everything ready makes the setup process smoother.
Step 3: Select a Charging Hub or Multi-Port Charger
Instead of having separate chargers for each device, consider using a multi-port USB charger or charging hub. Benefits include:
– Charging multiple devices simultaneously from one outlet.
– Reducing clutter and the number of wall plugs needed.
– Faster charging speeds supported by some hubs.
Look for chargers with enough ports for all your devices and that support the charging standards your devices require (like USB-C Power Delivery or Quick Charge).
Step 4: Organize Your Cables
Cable management is crucial for a neat charging station. Here are some tips:
– Use Cable Clips or Holders: Stick these to the side or back of your table to keep cables in place.
– Label Your Cables: Use small tags or colored tape to identify which cable belongs to which device.
– Bundle Excess Cable: Avoid tangles by coiling extra cable length with Velcro straps or twist ties.
– Cable Sleeves or Covers: These can group multiple cables together for a cleaner look.
By organizing cables, your charging station will look tidy and be easier to use.
Step 5: Arrange Your Devices and Accessories
Place each device in a way that is stable and prevents damage:
– Use charging stands or docks for phones and smartwatches to keep them upright and easy to view.
– Place earbuds in their cases to avoid misplacement.
– Use a tray or small box for loose accessories like adapters or extra cables.
Make sure devices have enough space so they don’t block each other’s ventilation openings.
Step 6: Maintain Safety
Safety is important when setting up any electronic station:
– Avoid overloading power outlets or strips.
– Use chargers and cables certified by the manufacturers or reputable brands.
– Keep liquids away from the charging area.
– Unplug chargers when not in use for long periods.
Being mindful of these tips helps prevent accidents and damage.
Bonus Tips for a Smart Charging Station
– Add a Timer or Smart Plug: Automatically turn off the charger when devices are fully charged to save energy.
– Include a Wireless Charger: If your devices support wireless charging, add a pad to simplify the process further.
– Decorate Your Station: Use a small plant, decorative tray, or stylish box to match your home decor.
– Design for Portability: If you need to move your charging station often, use a tray or caddy with a handle.
Conclusion
Creating a charging station is a simple way to streamline your device management. By choosing the right location, using a multi-port charger, organizing cables, and arranging your devices properly, you can enjoy a neat, efficient charging setup. With a little planning and the right supplies, you’ll reduce clutter and make sure your devices are ready to go when you need them.
Start your charging station project today and experience the convenience of organized device charging in your home!